
1. Make a new request
- Make a new ICE request for imaging and select the examination
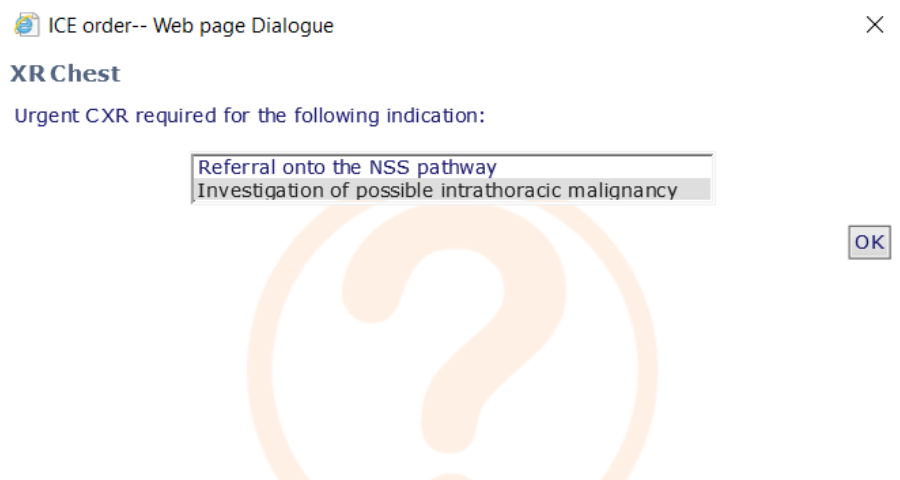
2. Complete any Direct Access Requirements (if required)
- GP Direct Access tests may request extra information
- Answer the questions on the first and any subsequent forms
- Not required for routine tests
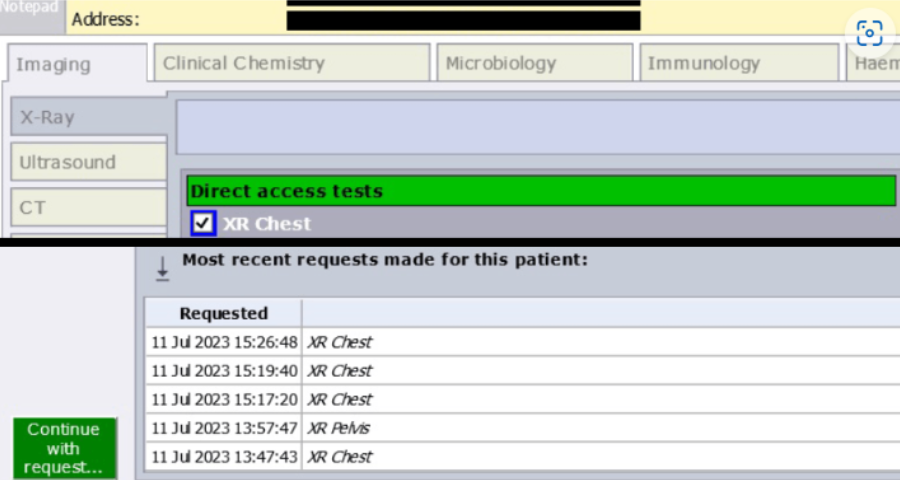
3. Continue with request
- Within ICE, the indicated exam will now be selected
- Click the 'Continue with request...' button on the left of the screen
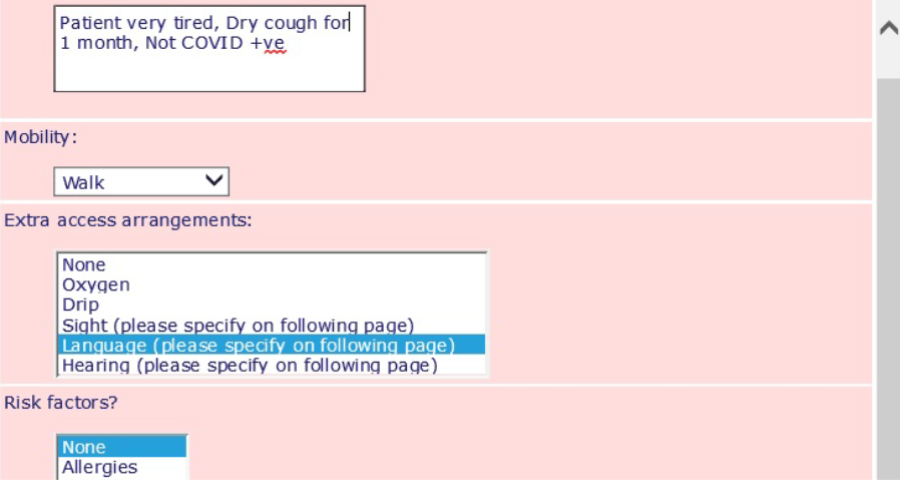
4. Complete patient details
- You will now need to enter any patient specific details on the ICE request form
- The extra details enable the hospital to book an appointment with the required support available
- Click 'OK' once the patient specific details have been entered
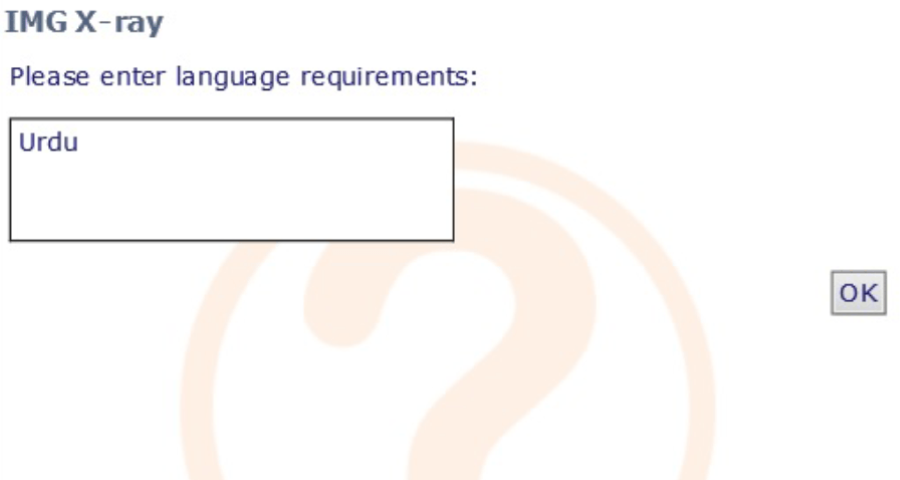
5. Provide any extra information
- Depending on the patient specific details that were entered, you may be asked to provide some extra information (e.g. specific language requirements)
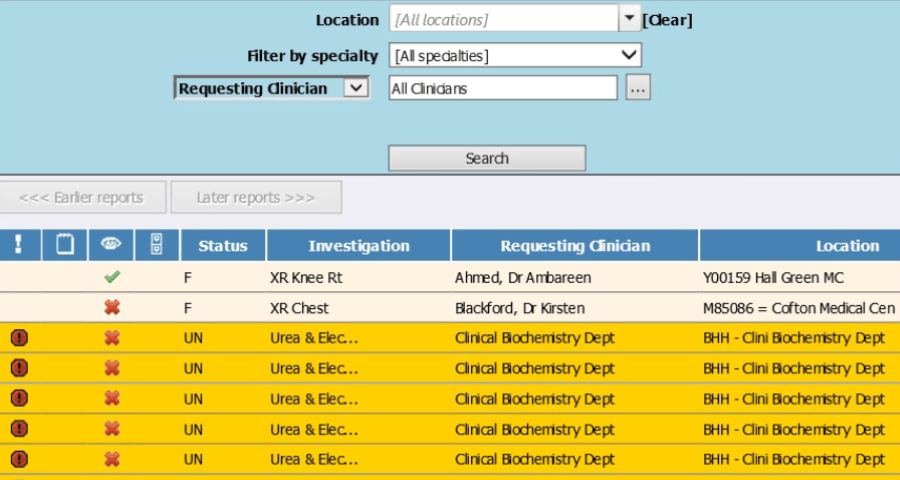
6. Review the request or result
- You can now review the request and result in ICE and the GP practice management system
Last reviewed: 15 September 2023